|
|
| Home-->F1 Rocket Project-->First Flight Prep Page 1 |
|
SITE CONTENTS
Please send your comments and suggestions to:
Copyright © 2008 by
|
Links
on this page: Register with FAA Initial Engine Start Weight and Balance Pilot's Operating Handbook FAA Inspection |
|
|
With the assembly of the Rocket nearly completed, it's time to start getting all the paperwork in order to get the airplane properly registered with the FAA. The first steps actually began at the beginning of the project with a request for a special registration number. There are online request forms via the Internet that you can use to request a number and pay for it. I actually paid for about 4 different numbers until the owner of my RV-6 called me and told me that he was going to release my old number. I was thrilled to re-acquire it for use on my Rocket. So I did.
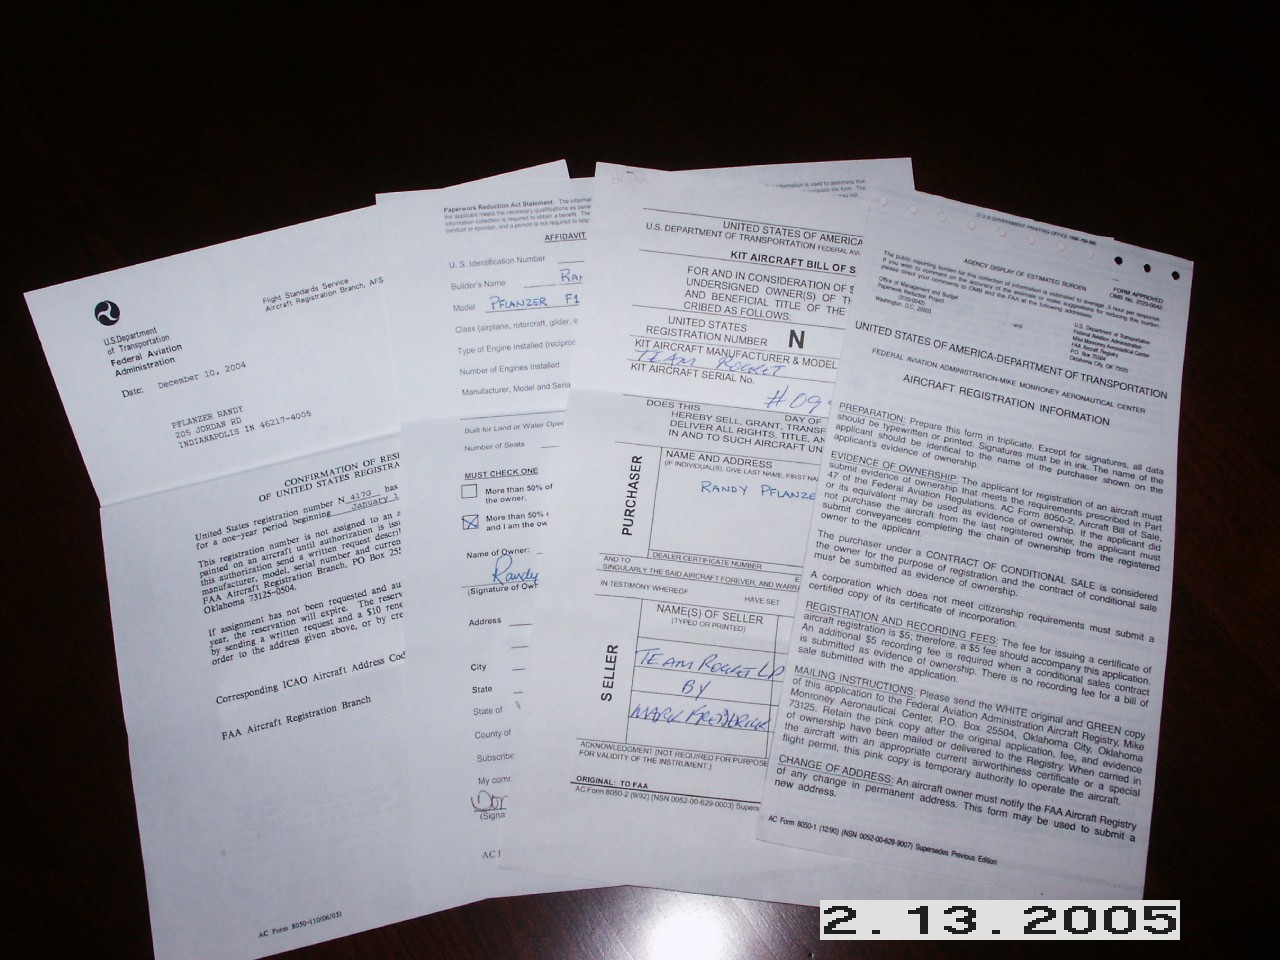
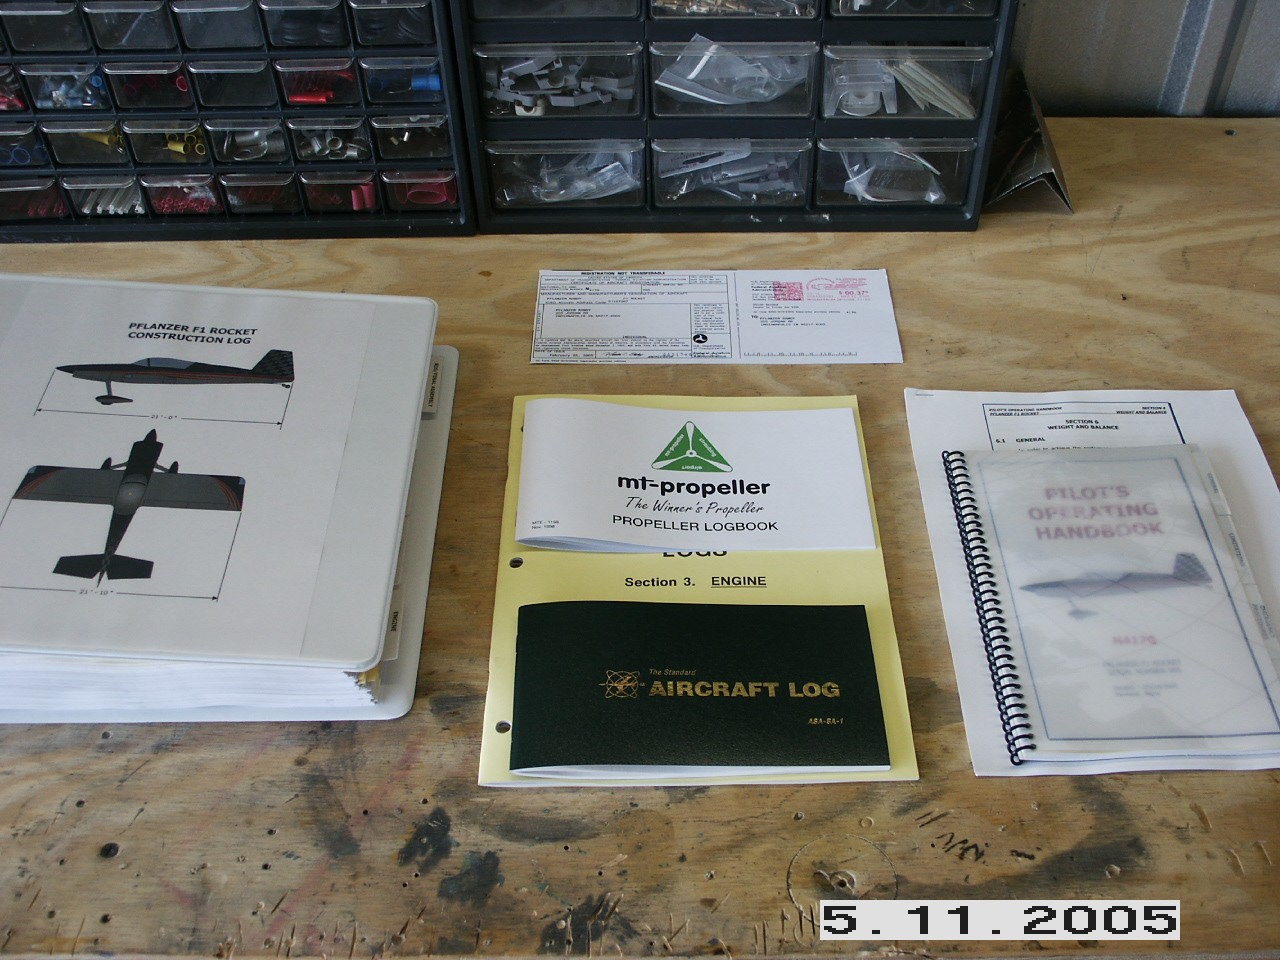
Next step is to officially register your airplane. To do that, you need to submit form 8050-1 Aircraft Registration. Unfortunately, this is a three-part form so you can't get it electronically. I called my local FSDO office and asked them for a registration packet and they mailed one to me. With this form, you also need to send along form 8050-2 Aircraft Bill of Sale which Mark sent to you with the kit. Be sure your name on this matches the name on the registration form. You also need to send form 8050-88 Affidavit of Amateur Built Aircraft. This form must be notarized. I also sent along my registration reservation document so there wouldn't be any confusion about what N-number to assign to me. In a couple of week, the FAA will send me my registration document and will also send a notice to my local FSDO office. They, in turn, will mail me a packet of info to get ready for the airworthiness inspection. More on that later.
Well, I received my registration from the FAA, but it is WRONG. The model designation is incorrect. Now normally I wouldn't sweat it and just go with the flow, but the registration doesn't match the data plate that is installed on the exterior of the airframe. Instead of the model being "F1 Rocket", it's "Pflanzer F1 Rocket". This is one of the things that the FSDO inspectors will check. It is very important that the make, model, and registration number all match between your registration certificate, data plate, and request for Special Airworthiness Certificate form. So my next step is to file a notarized Amended Affidavit of Amateur Built Aircraft form requesting a change to the model designation. Of course it costs another $5. So that paperwork is on the way and now it's stop and wait time again. About two weeks later I received my updated registration with the model number corrected. With that finally taken care of, I can get back to reassembling the airframe in preparation for the initial engine start.
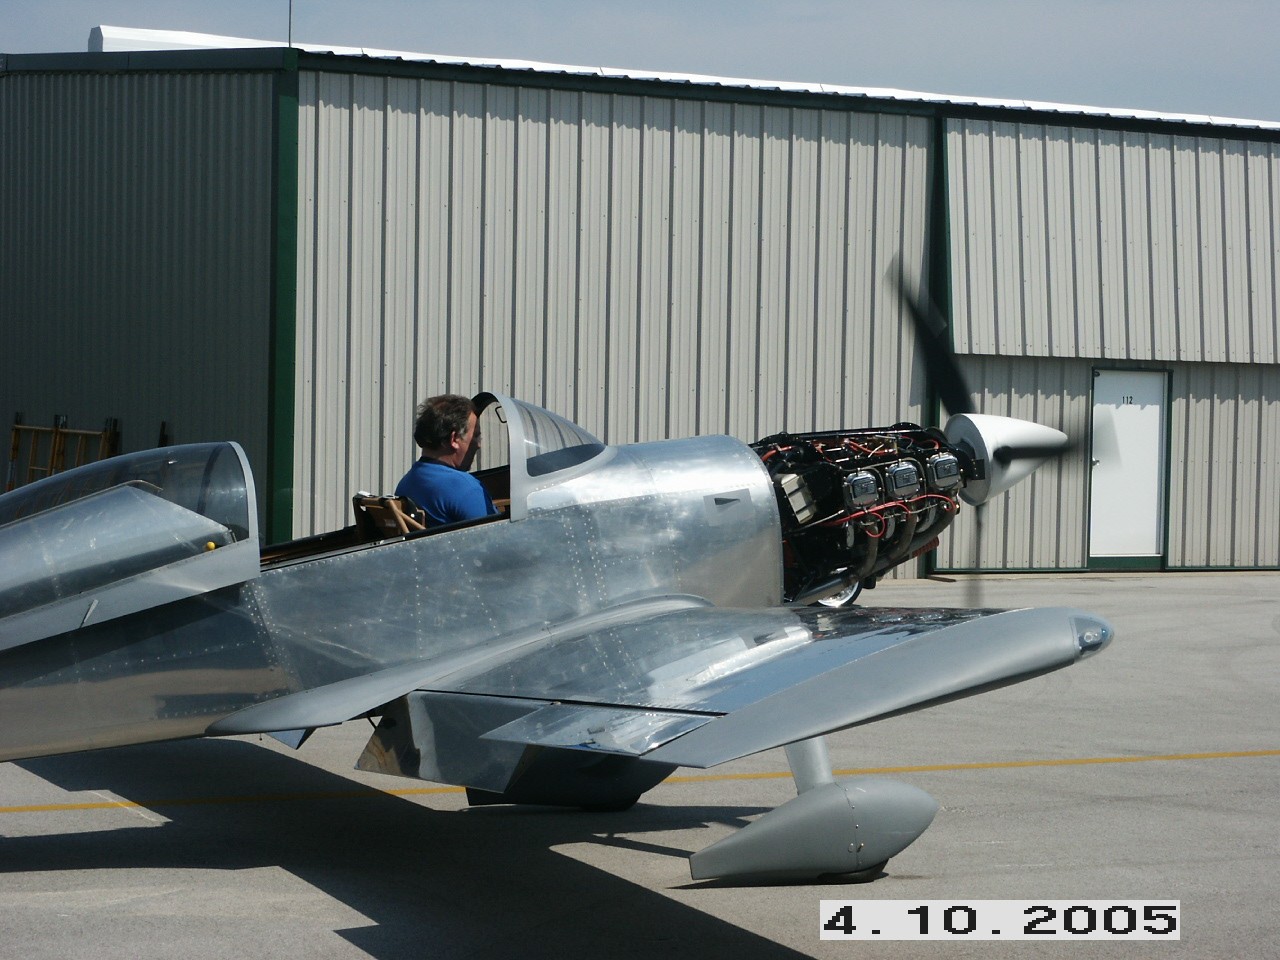
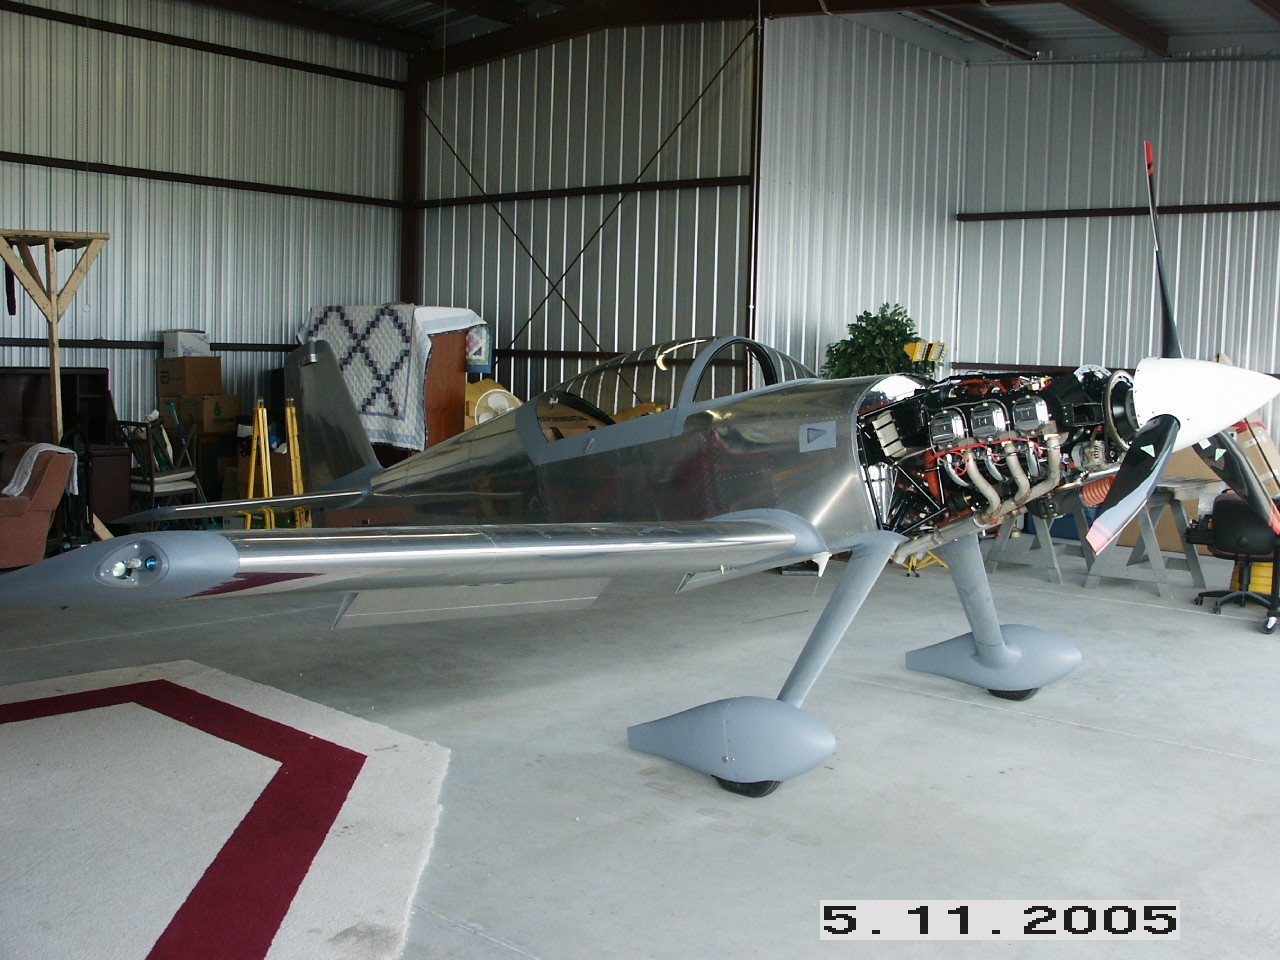
It took me about a week to re-install all the interior panels and the canopy. Now, I have somewhere to sit in order to fire her up. I also drained all the preservative oil (what a mess) and filled it with mineral oil for the break in period. Everything should be all set for the first running of the engine.
Once I established some fuel pressure, the engine caught on the second turn. It took a few minutes for the engine to burn out all the remaining preservative oil from inside the cylinders. After a couple of minutes, the engine purred along real nice. I was closely monitoring the engine parameters on my EFIS display. I do have a couple of wiring problems to correct, as I don't have a RPM reading. Other than that, everything went extremely well. I'm relieved.
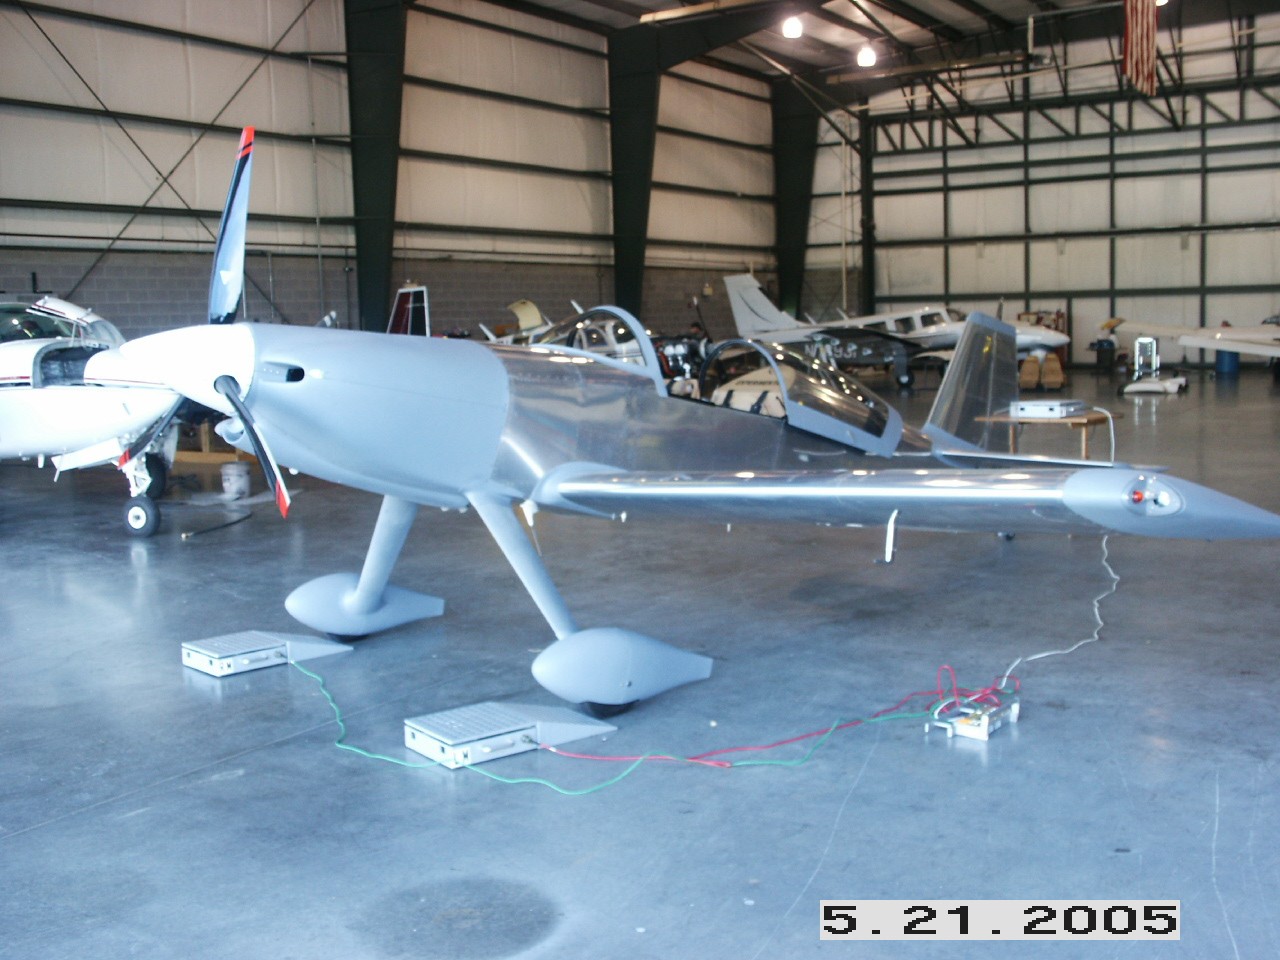
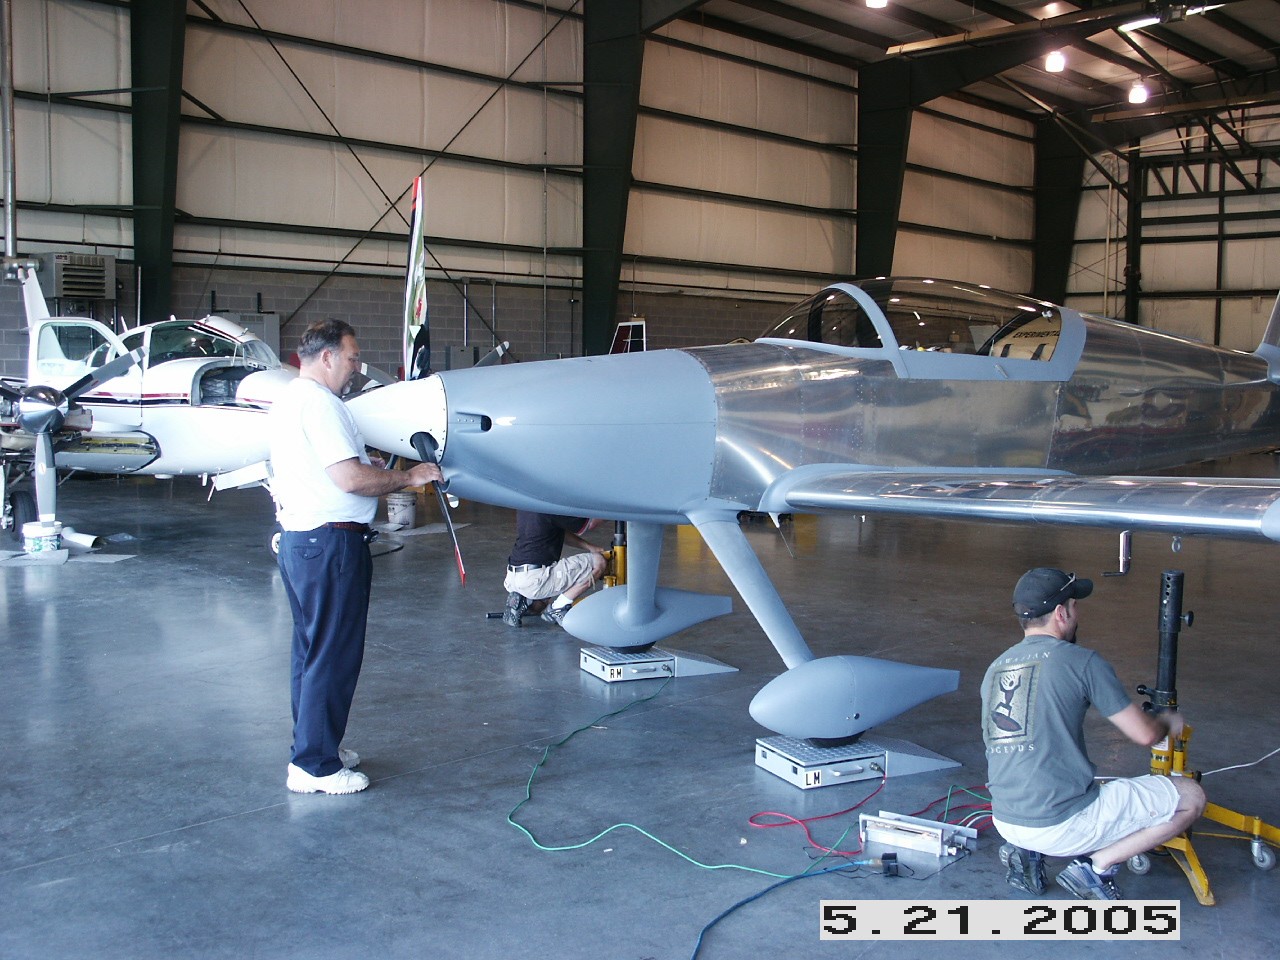
My FBO, Greenwood Aviation, allowed me to use their scales on a Saturday morning to weight the airplane. It was an interesting effort since they don't weight very many tail draggers. It took us awhile to get things set up since the scales have to be turned on and then the aircraft is lowered on to them. The airplane weighted just a little more than I wanted but the total weight is not too surprising given all the stuff I put in it. The overall weight of the airplane is 1243 lbs. with 65 lbs. on the tail.
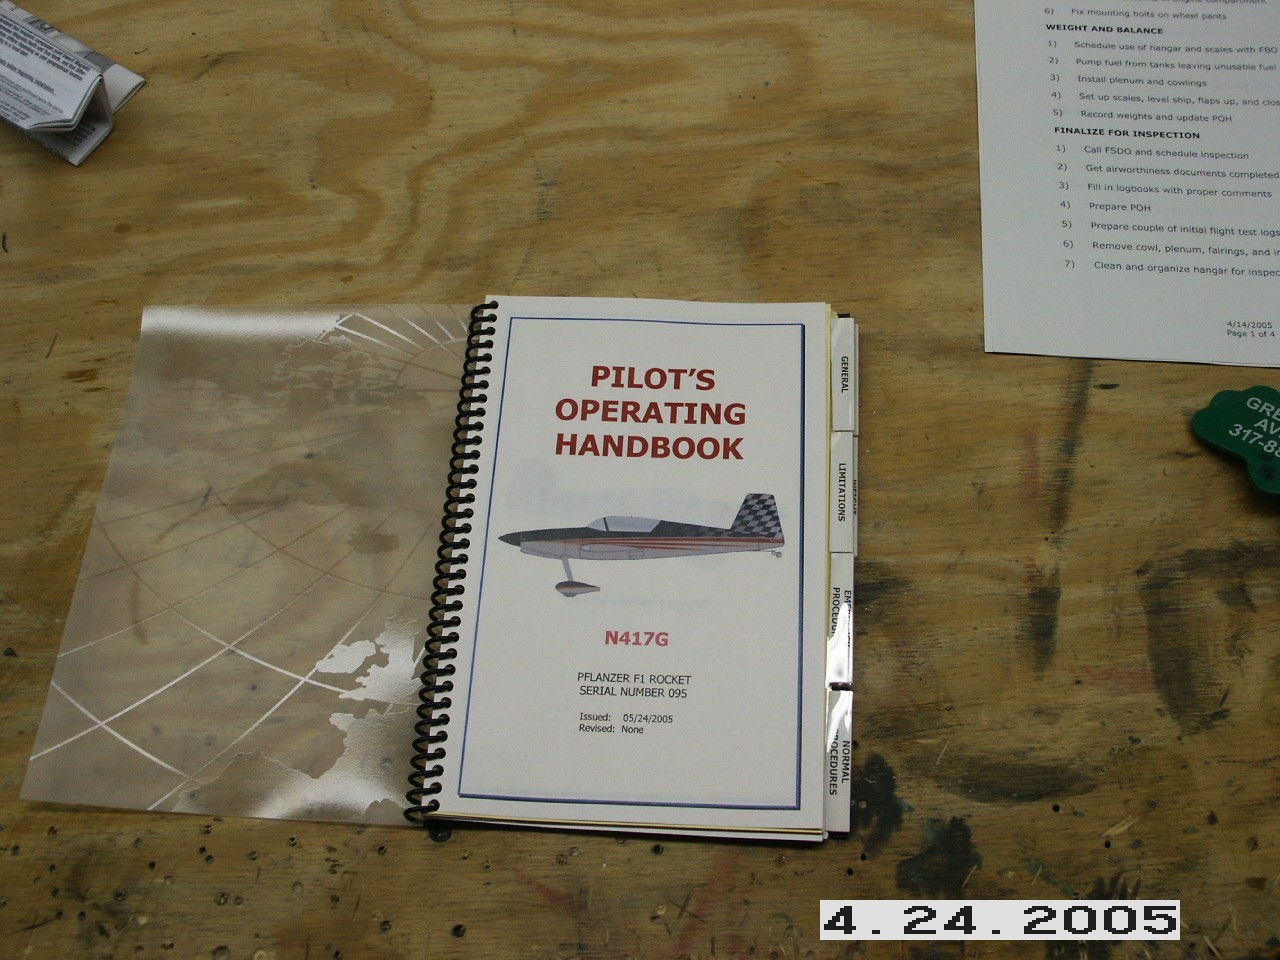
I put together a real nice, professional looking POH for my airplane. It took me about four months and many hundreds of hours to complete it. It is in Microsoft Word and uses color, is double-sided, and makes full use of headers and footers. I had it professionally printed and bound at Kinko's to top it off. I'm real happy with the way it turned out. I've included a PDF file of the table of contents of each section and the first page for you to see, as well as the entire Section 1. These may give you some ideas for your own POH.
Once I had possession of the registration, it was time to contact my local FAA office to get the airworthiness inspection scheduled. In Indy, the local FAA office is a FSDO, or Flight Standards District Office, and they are great to work with. No need for DARs around here. The Feds are friendly and willing to work with you. My office asked me to submit a packet of forms. They included a cover letter with all the steps checked, an application of airworthiness inspection, and notarized certificate of amateur built status, a three-view drawing of the airplane, and my application for a repairman's certificate. I completed these forms and ran them over to the local office. A few days later they called me to schedule the inspection. Rather than it taking four to six weeks, they fit me in in less than 5 days! How's that for service. Your and my tax dollars at work.
On the appointed day, I had all my project documentation laid out for inspection. Per my inspector's instructions, I just had the cowlings off. That was all he wanted to see. After looking through the airplane for about 20 minutes, we spent the next 45 minutes filling out paperwork. That was it.
When we were all done, I had the magical "pink slip". My Rocket is now officially an airplane. Next step is to conduct the first flight. That's on the next page. |
||
|
|
||
|
"Things
are only impossible until they're not." |