|
|
| Home-->F1 Rocket Project-->Fuselage Page 6 |
|
SITE CONTENTS
Please send your comments and suggestions to: Copyright
© 2008 by
|
Links
on this page: Aileron Autopilot Servo Electric Aileron Trim Front Seat Floor Panel Front Seat Crotch Strap Longeron/Firewall Reinforcement |
|
|
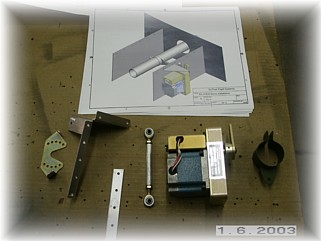
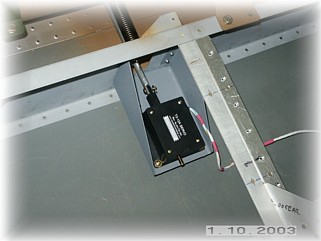
My plan to finish up all the stuff that goes beneath the floor panel continues with the installation of the TruTrak aileron autopilot servo. The plans and parts are pretty straightforward. I want to install the servo as far forward as I can without interfering with the aileron control tubes. That is so I can still fit the electric trim system in and get them both to fit underneath the forward floor panel. I don't want to get anything beneath the two side panels because those will be permanently riveted down. First step was to mount the mounting bracket provided by TruTrak.
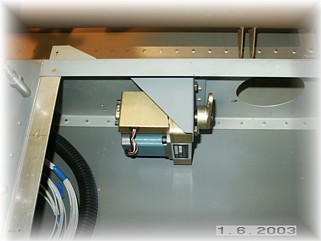
After cutting the slot that is outlined in the instructions, I bolted up the rod ends and torque tube. That was it. Pretty easy. I started on the wiring harness but I ran out of 22 gauge wire. Funny, I though 200 feet of the stuff would be enough. I already ran out and I haven't even started behind the panel yet!
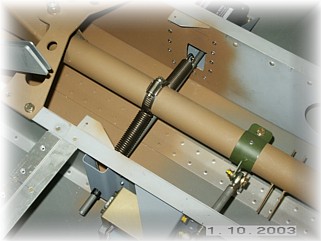
I ordered an electric aileron trim kit for the RV-8 from Van's Aircraft. As usual, their kits are very well put together. I went ahead and fit the motor mount as forward as possible. This is mounted on the left side of the cockpit floor.
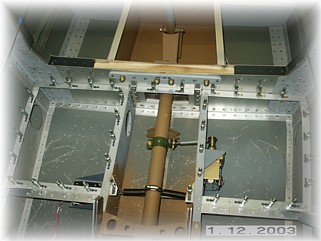
After fiddling with the tube and springs, I went ahead and mounted the motor. While I had it off, I went ahead and wired up the trim motor to the wiring bundle. In the right picture, You can see where the left hand fixture is right next to the autopilot servo. I also trimmed the springs just one winding in order to get the right amount of tension on the control tube. My kit was missing the part that gets riveted to the tube to hold the springs so I just used a worm clamp. This meant that I didn't have to trim the springs as much as others have reported. Overall, it turned out okay.
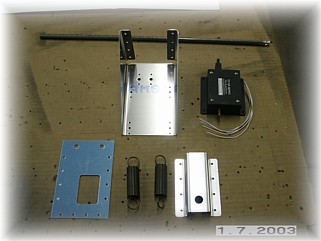
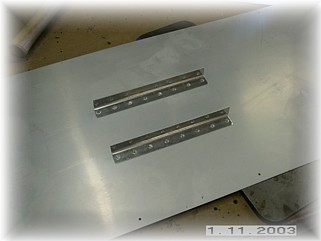
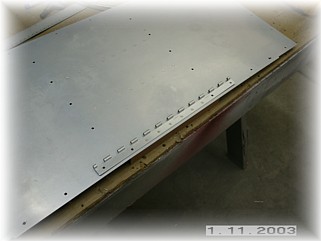
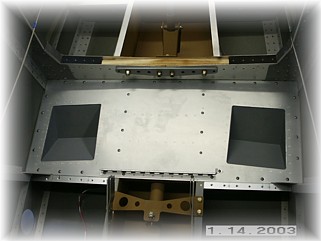
The front seat floor panel requires the installation of foot wells for the passenger's feet and a couple of reinforcing angles. This panel needs to be removable so it will be installed with screws and nut plates. First step is to attach a couple of reinforcing angles in the center. I installed mine per the plans.
Here's where it gets a little tricky and the plans are of no help. According to the plans, the front seat hinge is to be riveted to the angle that spans the center tub. Since all of this has to be removable, that make the angle removable as well. What I did was install nut plates for the center section angle underneath the mounting angles that are inside the center tub. Then, I riveted the hinge to the angle in between these two screw holes. Outboard of these two screws, I installed another screw in order to secure the full length of the hinge. That's probably clear as mud but it's the best I can do right now. In the right hand picture, I am drilling all the nut plates to the frames. It took almost a full day to get them all drilled, cleaned, countersunk, and riveted.
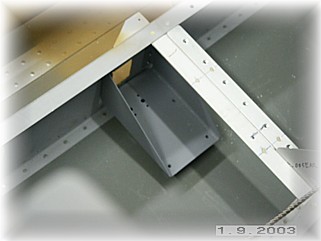
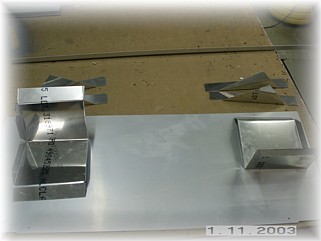
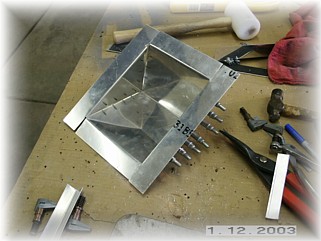
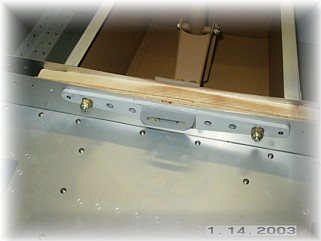
Next it was time to fabricate the foot wells. I have to say that my foot well pieces looked like they were cut out by a blind child with a dull pair of snips. They were very close to being complete junk. I trimmed, bent, re-bent, and finally pounded them into submission. I trimmed a 5/8 " flange around the outside and riveted them together. I then used them as a guide to cut out the openings in the floor panel. I went ahead and installed mine parallel to the side of the cabin rather than square to the cross member. I could do that because I am not installing rudder pedals for the passenger.
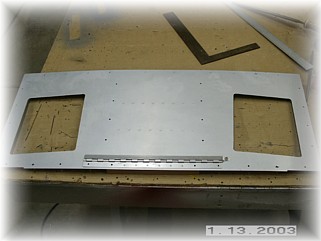
After riveting the foot wells to the floor panel, I trial fit everything. I'm glad I waited to do this panel until after I had all the underneath stuff done because I could have installed the right foot well in such a way as to interfere with the autopilot servo. As it was, I caught that and compensated for it before I cut my holes.
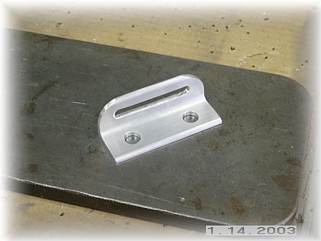
Here's another trick I learned from fellow Rocket builder Tom Martin. Instead of installing the strap that is called out in the plans, Tom suggested making a clip from a scrap piece of angle. The angle bolts to the front of the spar and doesn't stick up higher than the spar like to one in the plan does. That way in an accident, you won't catch an important part of your anatomy on the fitting. The only problem here is that you will have to order up two close tolerance bolts that are a little longer than the ones supplied in the kit. Longeron/Firewall Reinforcement
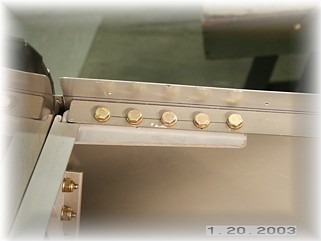
This was an easy thing to do while I was waiting for paint to dry on other parts. I measured and drilled the upper longeron to the firewall/engine mount reinforcement using the hardware provided. It is important to get the proper edge distance on the longeron and to get the hole in between the existing hardware. I used a mirror on edge to find the mid point between each existing nut. I also step drilled the holes using progressively larger drill bits until I reached the final size. Next I will work on the brake pedals and master cylinders. That work starts on the next page. |
||
|
"It is amazing what you can accomplish if you do not care who gets
the credit." |