|
|
| Home-->F1 Rocket Project-->Canopy Page 4 |
|
SITE CONTENTS
Please send your comments and suggestions to: Copyright
© 2008 by |
Links
on this page: Rear Canopy Lock Final Assembly Canopy Stops |
|
|
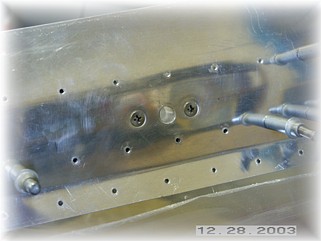
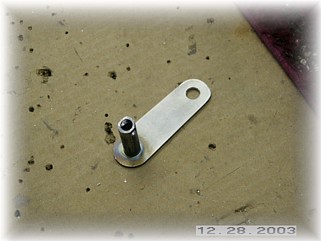
I installed the rear canopy latch pivot block per the instructions. I made significant changes to the rear handle. First, I shortened it so that the rear passenger cannot open the canopy via this arm. I do not want the passenger to have the capability of opening the canopy in-flight. I sat in the airplane and found it very easy for the passenger to reach over the pilot's shoulder to reach the front canopy latch, so I don't think this modification is a big deal. Second, I drilled the hole up larger so that I could install a short piece of spacer for the bolt to pivot on. That way, I can tighten down the bolt.
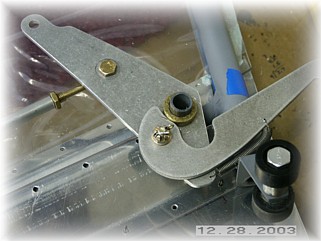
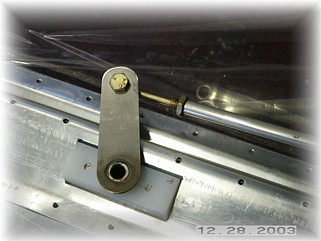
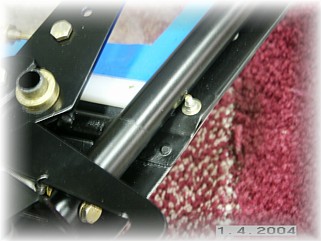
Here is a picture of the front latch although I plan to make some changes here. I plan to cut the tube off flush with the brass fitting and I will weld the end shut. I will drill and tap a hole in the brass fitting for a set screw. I think that makes for a cleaner installation. Also shown is the rear mechanism in-place.
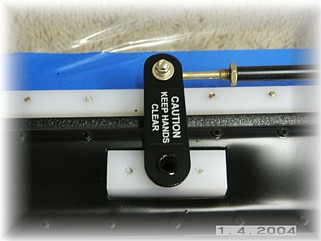
I disassembled everything and painted each part. I added a small part to my canopy frame along the front edge to provide a cover for the front edge of the windshield. I have one on each side. I also put a decal on the rear canopy handle.
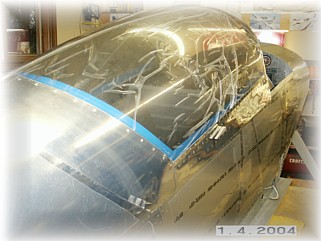
The final detail was to add some plastic along the edges of the canopy skirts to protect the fuselage sides. To complete the installation, I had to fiddle with the rear track height and the rear hinge pins a little until I got the fit I wanted. Seems after riveting, everything tightens up a little. After about three or four tries, things fit well and worked smoothly. I can finally say I'm done with the slider. All that remains are a few cosmetic things. I plan to fill and sand the pop rivets. I will probably do that at the same time I finish off the windshield installation.
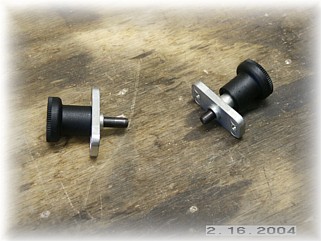
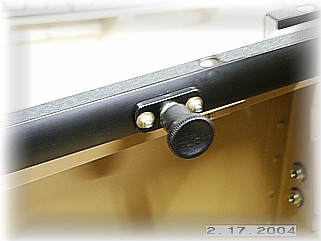
On Larry Bowen's RV-8 web site, I found his reference to "indexing plungers" and the way in which he used these as midway canopy stops. I thought they were a pretty neat idea so I ordered a set. They're not too big as to be obtrusive yet they are simple to install and effective. I chose to mount mine to the side of the canopy rail in the passenger seat area just behind the pilot's seat. Since my rails were already finished and installed, I didn't want to pull them off again. You could really mount these on the bottom or the top of the rail and they would be completely out of the way.
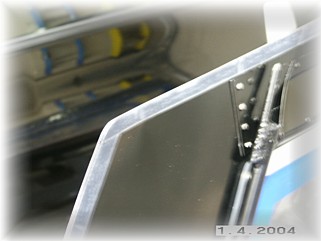
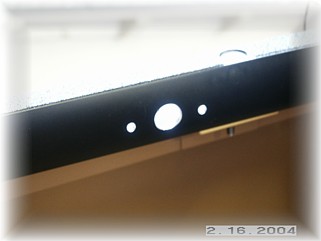
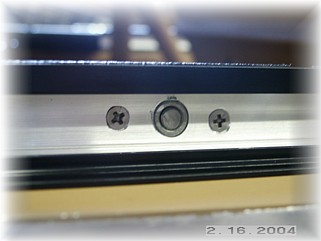
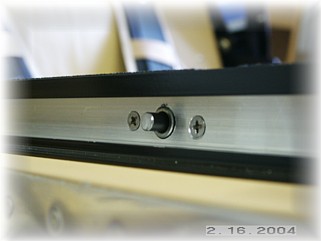
I had to use my Dremel to cut the end off the plunger. Here's a picture with the plunger withdrawn and with it sticking out. These plungers are indexed so that when you pull the plunger out, you give it a quarter of a turn and it sits in an indentation. This means that the plunger is not going to extend itself accidentally or by vibration.
I painted the base black to match my rails and bolted them up. I put one on each side although just one would probably be sufficient. With these extended, the canopy slides back to just behind the pilot's seat back. Now it's time to finish up the windshield. That work begins on the next page. |
||
|
"The
aircraft G-limits are only there in case there is another flight by that
particular airplane. If subsequent flights do not appear likely,
there are no G-limits." |