|
|
| Home-->F1 Rocket Project-->Canopy Page 5 |
|
SITE CONTENTS
Please send your comments and suggestions to: Copyright
© 2008 by |
Links
on this page: Windshield Final Finish |
|
|
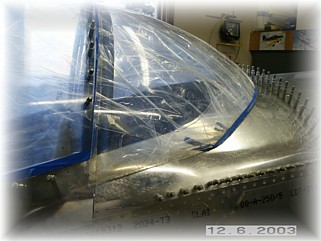
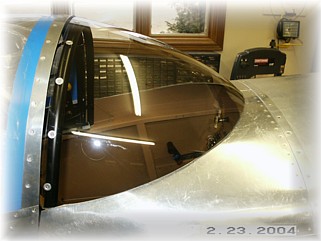
The initial fit of my windshield is pretty rough. It really doesn't fit at all. Not to worry though, it is pretty bendable. I made about a dozen cuts in order to approximate its location. I also had to trim the joint between the windshield and the canopy as the bottom edges got closer together as I properly positioned the front edge. The important measurement at this point is at the front edge. You need about an inch of space between the front edge and the boot cowl to give you enough room for the flashing.
I trimmed the inside edge of the skins to be flush with the inside edge of the windshield. After smoothing out all the cuts, I riveted the skins into place. Here's where things start to get complicated and all the dominos start to fall. Before I can permanently install the windshield, the windshield bow must be installed. Before I can do that, the interior needs to be finished, before I can do that, I have to final install all the wiring and interior panels, etc..... So, I've pulled the interior apart and I'm back to finishing up the necessary details in the cabin before proceeding with the windshield.
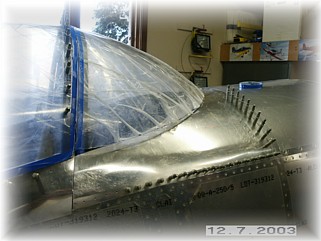
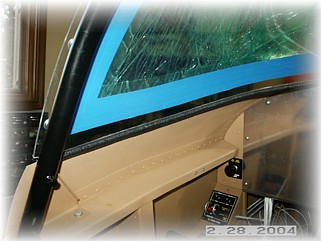
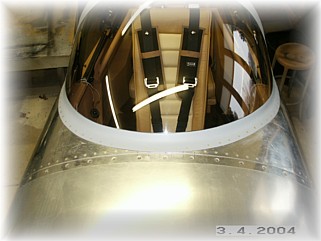
Now that the interior has been finished, I can get back to work on the windshield. I carefully trimmed the windshield so that it just barely touches the skin. I trimmed the skin so that it is equal with the inside edge of the windshield. I then installed some edging that I got from Cleaveland to give it that finished look. By installing it this way, the windshield pushes down on the edging and the cut line of the windshield is behind the trim. It looks pretty good and minimizes the amount of glare shield, which is what I wanted to do.
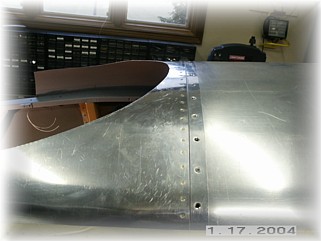
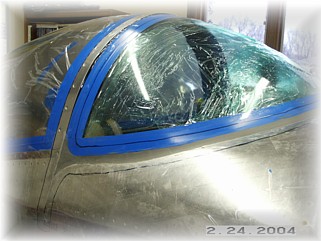
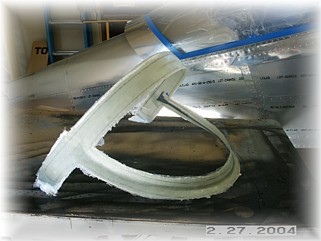
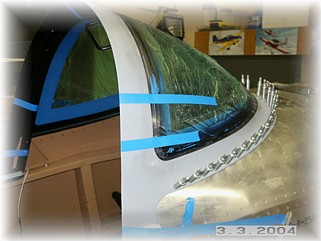
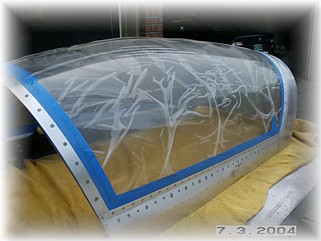
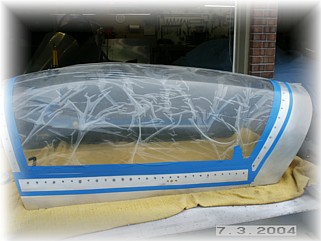
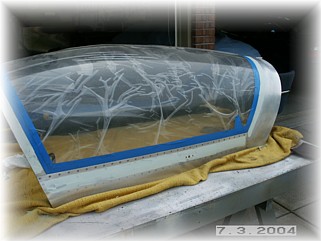
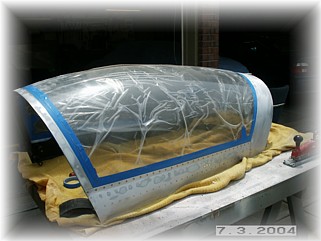
I then masked the windshield. My intention is to lay up the fairing and then remove it as one piece and finish it on my workbench, instead of on the airplane. I don't like to put a bunch of filler on the aluminum to cover up the fairing, so I'm going to do my best to make it look like a piece of aluminum. Next, I covered the fuselage and canopy with clear packing tape and filled the gaps around the windshield and in the corners with modeling clay. I then used permanent marker to lay out the general outline of the fairing. I do this because when the part is removed, the lines will be removed as well and give a general idea where to make my cuts. Once I was satisfied with the fit, I cut and laid up a 4 ply fiberglass lay-up all around.
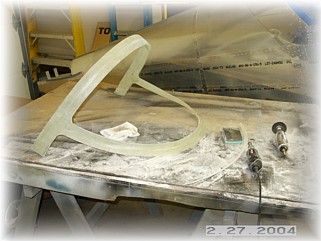
Once it was hard, I popped it off the airframe and took it over to my bench. Using the lines as a guide, I trimmed and sanded the edges to get a nice looking fairing.
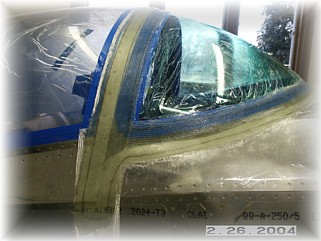
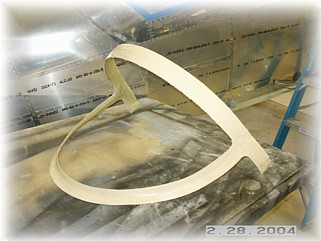
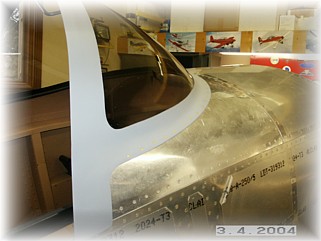
Next step was to goop up the part with a slurry of micro-balloons. Once this set up, I sanded it smooth and primed it. I also carefully sanded smooth the inside edge that hangs over the windshield bar. This part is easily seen so it's important to give it a good finish. I then fit the frame to the windshield and drilled it to the top skin.
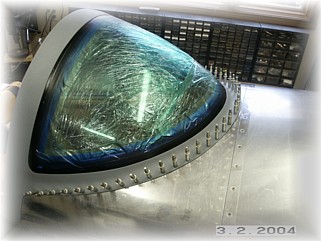
I got out the proseal, mixed some up and put it into a sandwich bag and cut off the corner. I used this to apply a small, thin bead along the Plexiglas and the aluminum skin. The frame was carefully lifted into place and held there for 24 hours. Later, I removed all the tape and set the rivets along the front edge. The rivets are not really needed since the part is glued into place, but I like the look it gives.
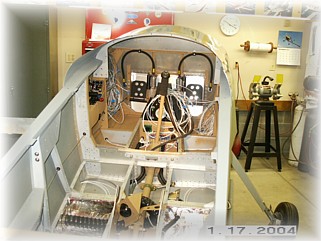
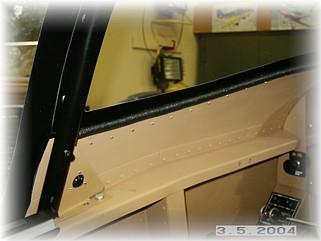
Here's what the inside looks like all finished.
For me, the outside of the slider needs a little finish work before primer and paint. I don't like the look of pop rivets so I fill them. I took extra care to NOT fill around the solid rivets, just the pop rivets. The first step is to sand around each pop rivet with some 80 grit paper and then fill the holes with epoxy/microballon slurry. I like this stuff better than Bondo because it won't crack or pop out. After those are sanded flush, I tapes around the area that I planned to slather with Bondo so it won't go where I don't want it to.
l mix my Bondo really thin and spread it on the appropriate places with a squeegee. Once it sets up, I remove the tape and sand the area with a long, flat sanding block. The final step is to squeegee on some spot putty and then do a final wet sand with 240 grit paper. After a quick wipe down with enamel reducer and a tack cloth, it is ready for paint.
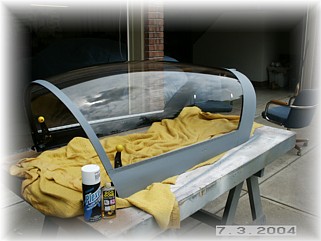
Here it is all finished. It took a little work with the Goo Gone to remove all the residue from the clear plastic sheets that the canopy comes wrapped in. It does a great job of protecting the Plexiglas. A little shine up with Plexus and it's all set. Off to the hangar it goes. That finishes up the canopy installation. |
||
|
"A
good traveler has no fixed plans, and is not intent on arriving." |